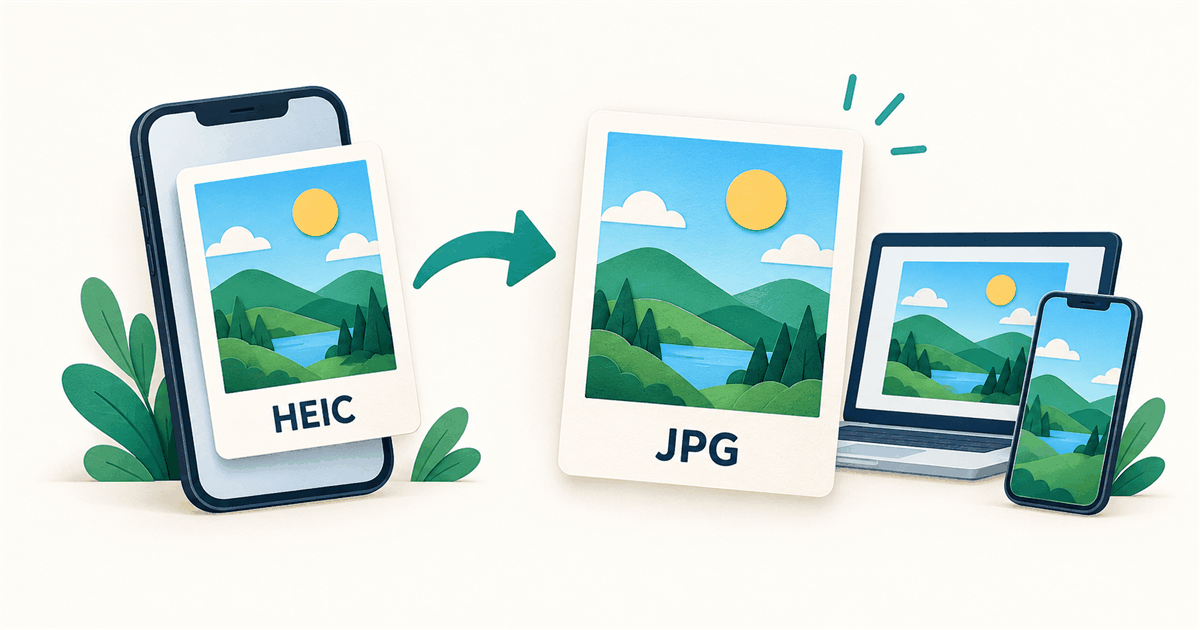
Your photo ends in .heic, but the website asks for a JPG. Or someone sends you a photo that your computer cannot open. You do not need to take the photo again: you need to make a new copy in a format the other app understands.
Want to use a built-in app instead? Mac users can export through Preview. On an iPhone with the Preview app, you can also choose JPEG when exporting. Below, pick the route that fits your device.
Choose the easiest method for your device
| Your situation | Start here | Where to find the JPG |
|---|---|---|
| Windows 11 or Windows 10 | Browser converter; Paint is an option if it can open your HEIC | Your browser’s Downloads list or the folder you choose |
| Mac | Preview → File → Export → JPEG | The folder selected in the export window |
| iPhone with Preview | Open the image in Preview and export as JPEG | The location you select when saving |
| Android or an iPhone without Preview | Use the browser method below | Browser downloads, then your Files app |
| Several photos | Use a batch, check the results, then download the ZIP | Extract the ZIP to get the individual JPGs |
A converter changes the file format. It does not automatically make a photo meet every upload rule. If a form also asks for a certain file size or width and height, check those details after conversion.
Convert HEIC to JPG online in your browser
ImageFinch processes your selected photo on your device rather than uploading it to a conversion server. The page still needs to load, so do not assume the whole tool is available offline. You can use this route in a compatible browser on a computer or phone.
- 1Open the HEIC to JPG tool and select the HEIC photo from your device. On a computer, you can also drag it onto the file area.
- 2For one photo added to an empty list, wait for automatic conversion. For multiple photos, press the Convert button showing the number of images.
- 3Start with the default quality setting of 90. Inspect the result before lowering quality to make a smaller file.
- 4Use the download control beside the finished image. For a batch, you can use Download All as ZIP.
- 5Open the downloaded file. Check that it is a JPG, looks the right way up and shows the detail you need.
The first HEIC conversion can take longer while the browser loads the decoder—the part that reads this photo format. Keep the tab open. If one file fails in a batch, review its error instead of assuming every photo was converted.
How to convert HEIC to JPG on Windows
If Windows cannot open the HEIC file, start with the browser method above. It avoids making native HEIC support a requirement for this task. Save the JPG, then open that new file in Photos or the app where you need it.
Already able to open the photo in Paint?
- 1Open Paint, choose File → Open and select the HEIC image. Continue only if it displays correctly.
- 2Choose File → Save as, then choose JPEG picture. Menu wording may vary with your Paint version.
- 3Give the copy a clear name and save it in a folder you can find.
- 4Open the saved JPG and compare it with the original before sharing.
Paint supports JPEG output, but opening HEIC depends on your Windows setup and installed format support. If the image will not open, do not just rename it. Microsoft documents HEIF/HEVC extension requirements for some Photos workflows. Follow its help for your error, or use the browser route.
How to convert HEIC to JPG on Mac
Preview is a useful choice for making a JPEG copy on a Mac. Choose an export format rather than changing the letters at the end of the filename.
- 1Open the HEIC image in Preview.
- 2Choose File → Export.
- 3Select JPEG from the Format menu and choose a quality setting.
- 4Choose a name and destination folder, then save the copy.
- 5Open the exported JPEG to check its appearance and orientation.
Apple also documents batch conversion in Preview: open images in one window, select them in the sidebar and use the export command. Try a small group first and check the saved files. The original files are still useful if you later need another size or format.
How to convert HEIC to JPG on iPhone
If your iPhone has the Preview app, use its export option. If it does not, use the browser steps above. Menu names can change between iOS versions, so check the version selector in Apple’s guide if your screen differs.
- 1If the photo is only in Photos, use Share → Save to Files to make it available as a file. Saving to Files alone is not a promise of JPG conversion.
- 2Open that image in Preview.
- 3Tap the actions menu next to the filename, choose Export and select JPEG.
- 4Adjust the size/quality setting if needed, then tap Done.
- 5Choose a folder, save the file and open the saved JPEG to check it.
Using Safari instead? After downloading, open Safari’s Downloads list or look in the Files app. Your download location may be in iCloud Drive or On My iPhone, depending on your settings. A downloaded JPG may not automatically appear in your Photos library.
How to convert HEIC to JPG on Android
Android phones differ in their built-in photo apps, so the browser route is a practical place to start. You do not need to install a separate converter just to try it.
- 1Open the ImageFinch HEIC to JPG converter in your browser.
- 2Select the HEIC file using the phone’s file picker. If it is an email attachment or cloud photo, save a full copy to the device first.
- 3Wait for conversion, inspect the preview and download the finished JPG.
- 4Open the browser’s Downloads list or your Files/My Files app and find the new JPG.
- 5Open it, then share or upload that saved copy rather than selecting the original HEIC again.
A large photo may use more memory than your phone can spare. If the tab closes or conversion stops, try one file at a time, close other busy tabs or use a computer. A small compressed HEIC can still expand into a large image while it is being processed.
Batch convert several HEIC photos to JPG
For a whole folder, work in groups you can check. Select several files, start conversion and wait for the results. ImageFinch’s Download All as ZIP option packages successful conversions together; failed files still need attention.
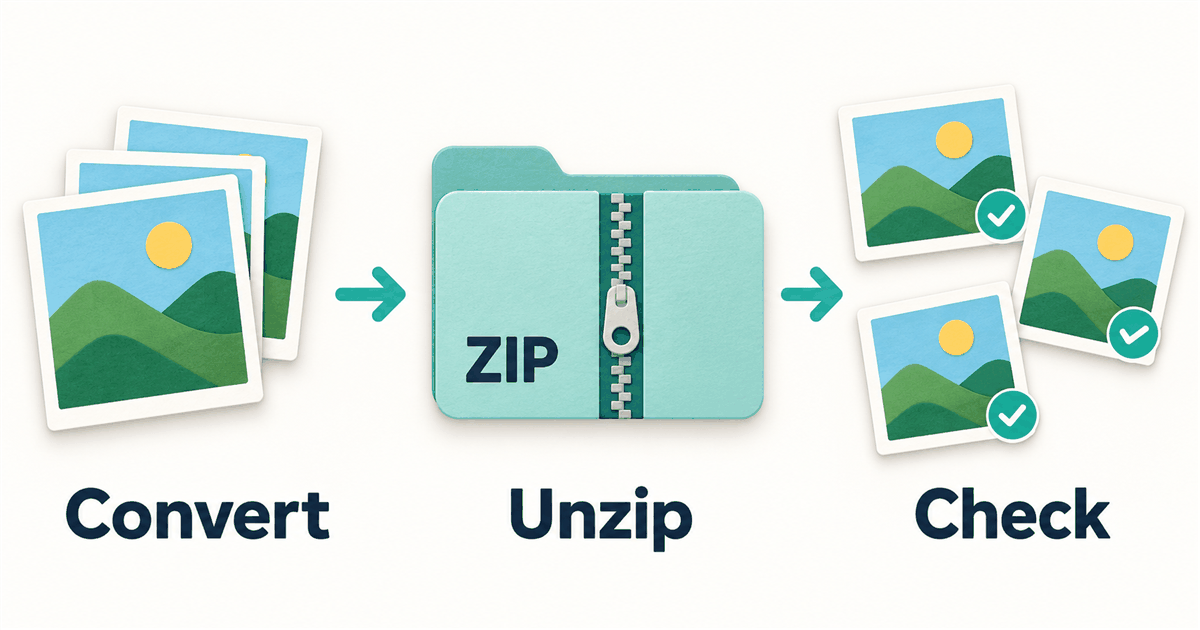
- 1Compare the number of successful results with the number of photos you selected.
- 2Download the ZIP and extract it using your device’s file manager.
- 3Open a few JPGs, including any unusual portrait or rotated photos.
- 4Keep the HEIC originals in a separate folder until you know the copies work.
Do not upload the ZIP to a form that asks for a JPG. Open the extracted folder and choose the photo itself. For hundreds of images, smaller batches are easier to review and can reduce memory pressure. The tool’s per-file limit is 100 MiB and its image limit is 80 megapixels; a device can run out of memory below those limits.
Will converting HEIC to JPG reduce quality?
JPEG uses lossy compression: it can leave out some image detail to reduce file size. A high-quality JPG may look very close to your HEIC, but “without losing quality” is not a promise of identical pixels. A quality setting of 100 is not a lossless mode.
Start with quality 90, then look at faces, small text, fine lines and smooth skies at a useful zoom level. If you need a smaller file, lower quality a little and compare again. Keep the original and avoid repeatedly saving and recompressing the same JPG.
One measured example, not a guaranteed saving
The HEIC tool page records a check from October 8, 2026 in Chrome 154 on Windows. The same photo produced the results below. These existing measurements illustrate the trade-off; they are not an average across photos or a new test of every device in this guide.
| File | Size in bytes | Width × height |
|---|---|---|
| Original HEIC | 2,912,776 | 3024 × 4032 |
| JPG, quality 90 | 2,705,557 | 3024 × 4032 |
| JPG, quality 75 | 1,355,910 | 3024 × 4032 |
The width and height stayed the same in that example. That does not prove identical detail, color or metadata. Your JPG may even be larger than the HEIC because the two formats store photos differently.
- See the HEIC tool’s measured example
- Make a PNG copy if you want to avoid another JPEG compression step
Fix a JPG that will not upload or looks wrong
| What happened | What to try |
|---|---|
| The form still rejects the photo | Check file type, maximum bytes and required width and height. Select the new JPG, not the original HEIC or the ZIP. |
| The JPG is too large | Make a smaller copy with the target-size compressor. Check that the resulting dimensions still meet the form’s rules. |
| The photo is sideways | Open the JPG in another viewer to confirm, then rotate a copy if needed. Check it again before sending. |
| The converted file is missing | Check browser downloads and Files/Downloads. Extract a ZIP first. Read any failed-file message. |
| Only some batch files converted | Download the successful results, then try failed photos individually using a complete local copy of each original. |
| The date or location changed | Metadata may not survive conversion. Keep the original and inspect the saved copy if this information matters. |
| Colors look different | Advanced color or HDR information may change on export. Compare the JPG in the app where it will be used. |
- Make the JPG fit a file-size limit
- Set the required width and height
- Fix a sideways photo
- Understand the date and location information stored with a photo
Save future iPhone photos as JPEG
On a supported iPhone, open Settings → Camera → Formats and choose Most Compatible. New photos will use JPEG. This setting does not convert the HEIC photos you already have, so use one of the methods above for existing files.
You can also keep the space-saving capture format and convert only the photos you need to share. AirDrop, email or a USB transfer may change the format in some situations, but do not rely on that happening every time. Check the file you actually receive.